How do you set set up Corrections?
Your chatbot isn’t perfect. It can make mistakes too. Often at times it makes mistakes from 3 common main causes: the first is that your customer is trying to ask for a question not found in the link you provide your chatbot with, or that the Chatbot has misunderstood some of the content in your website.
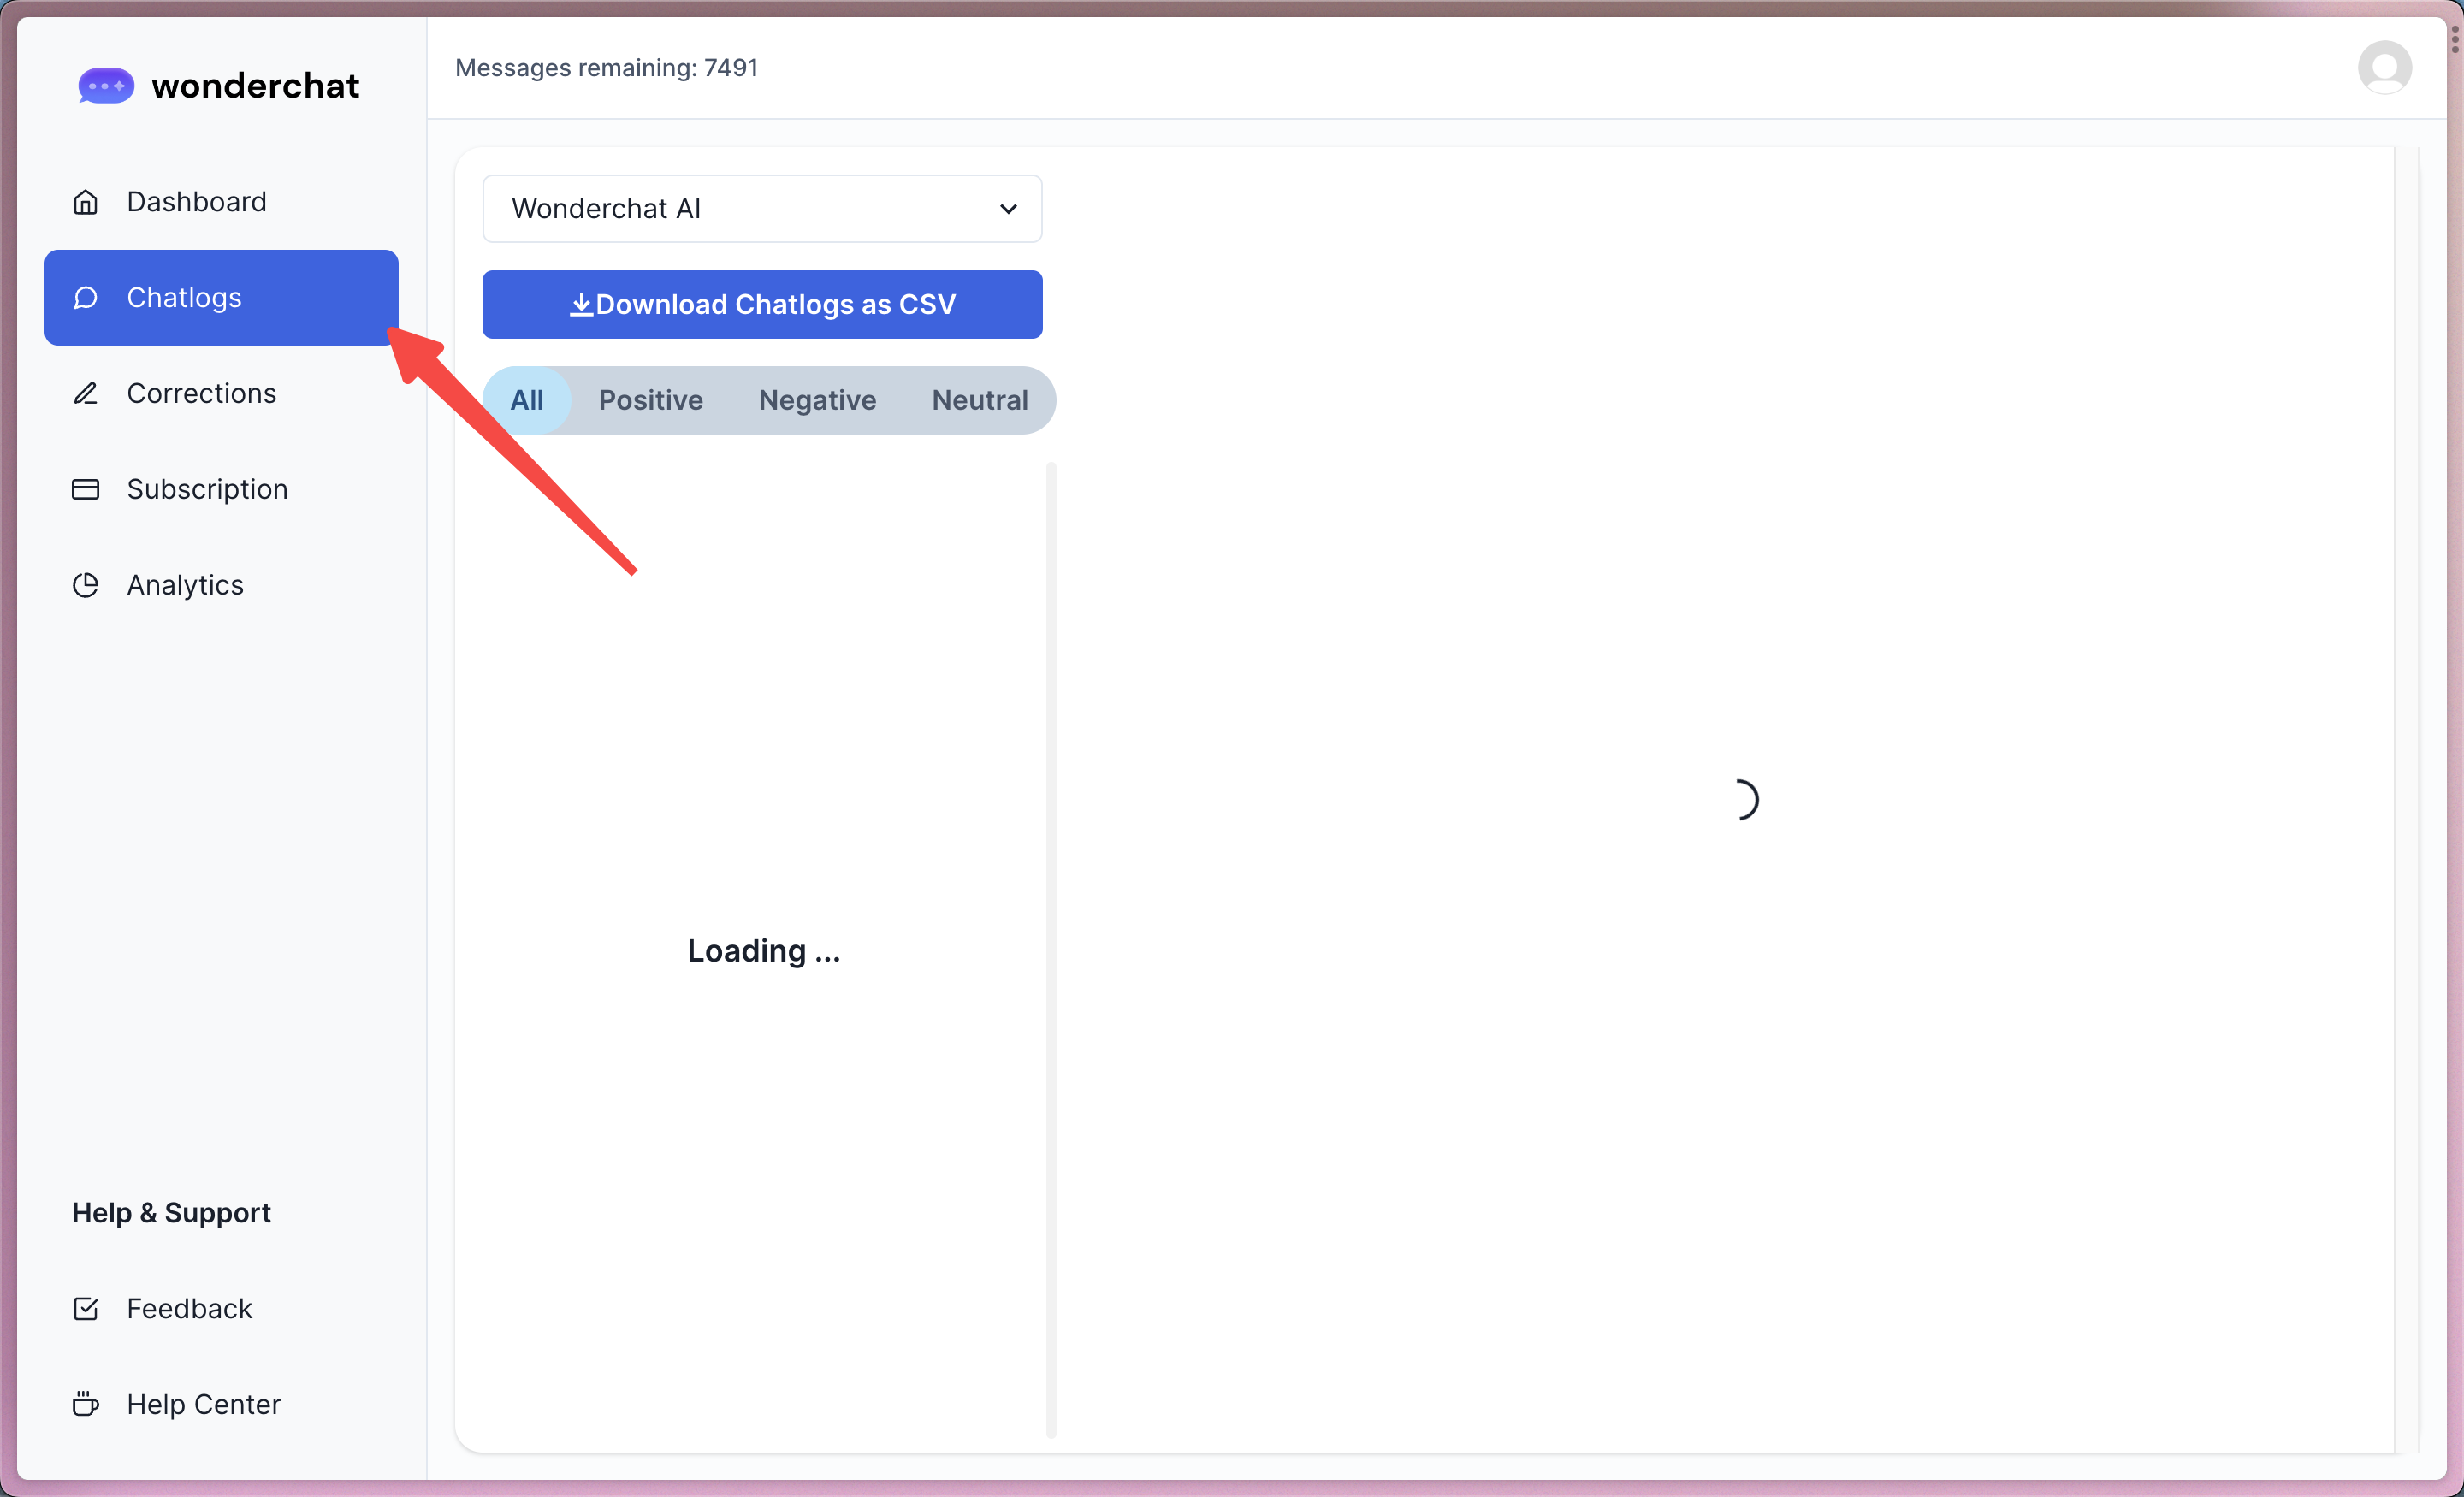
Step 1: Visit the “Chatlogs” tab
Click on the “Chatlogs” tab to open up a conversation containing a Chatbot response that you wish to improve.
Step 2: Click on the grey colored “Compose” icon
Click on the small grey icon located on the left of the chat bubble that prompted your Chatbot to give the wrong response.

Step 3: Enter the correct response into the “Model Answer” input field
- Clicking on the compose icon would open up a drawer for you to re-write the correct answer to the question that was asked to the Chatbot.
- Edit the model answer to your liking and click “save.” Your correction will be saved inside the “Corrections” Tab and you can try asking your Chatbot the same question again to see it give out the satisfactory answer.
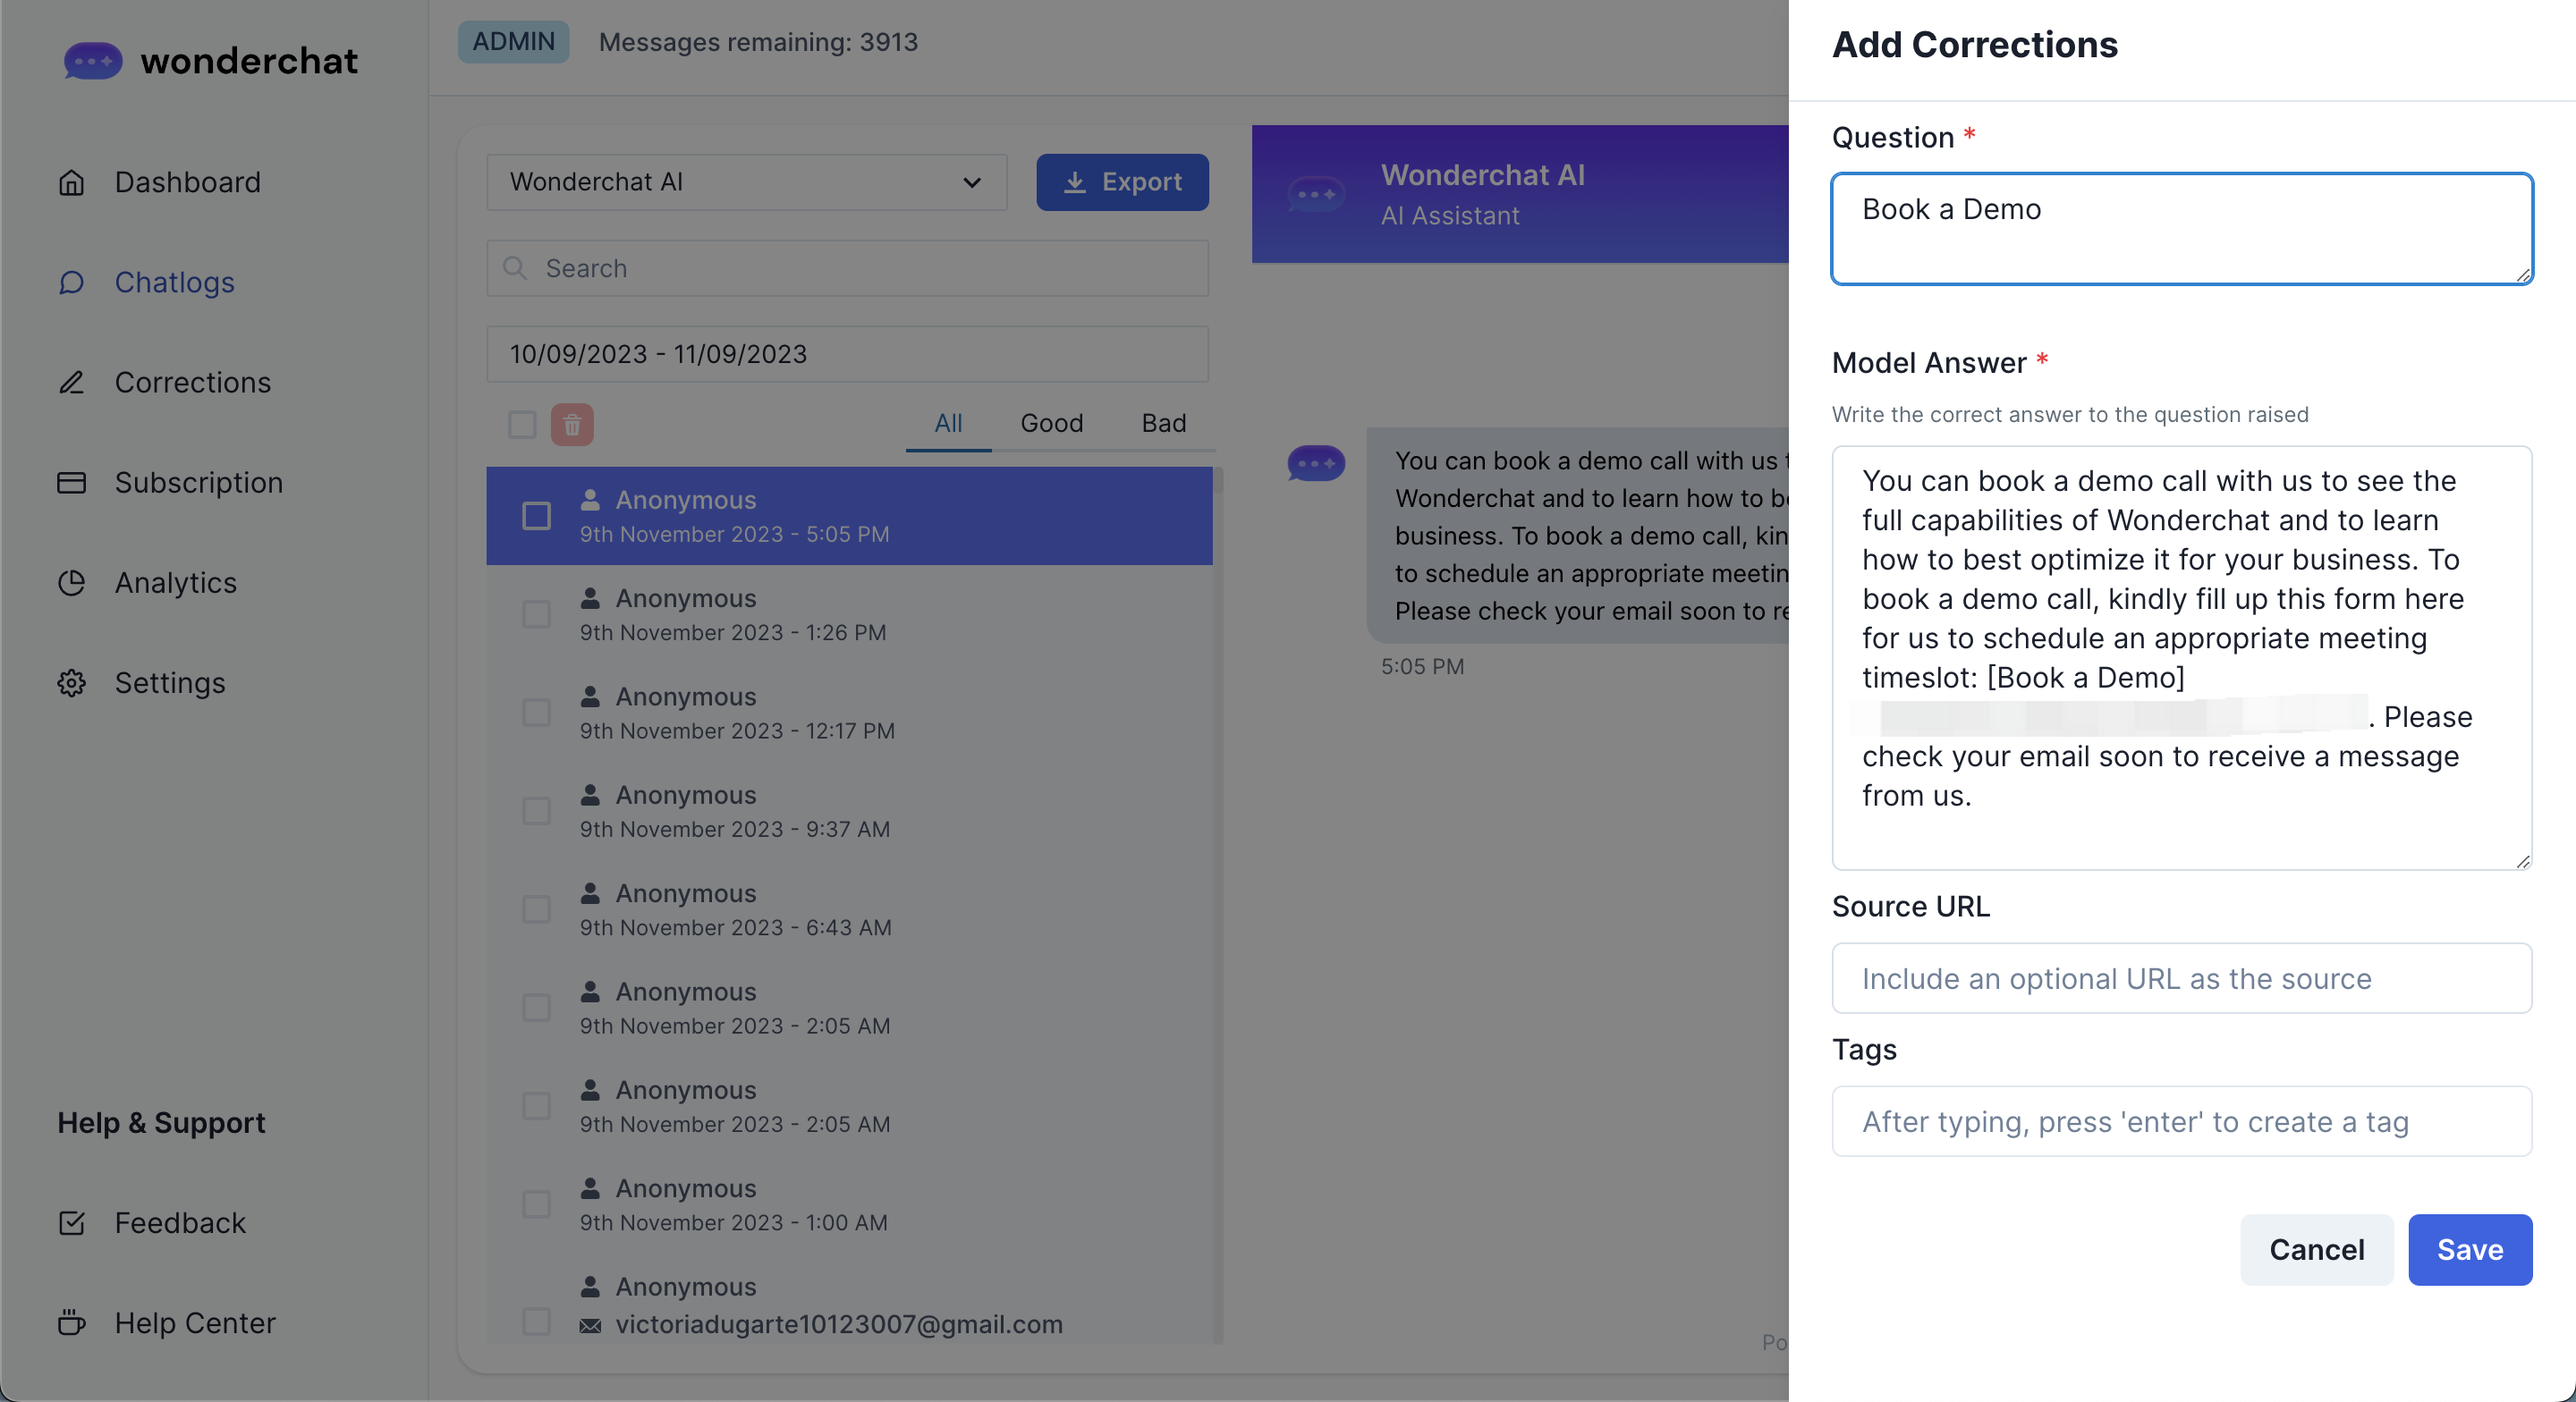
- You can also add new webpage links into the corrections if you notice that the chatbot did not cite a desired page as the source.
- Once you have created a correction successfully, you will receive a pop-up informing you that the correction has been completed.
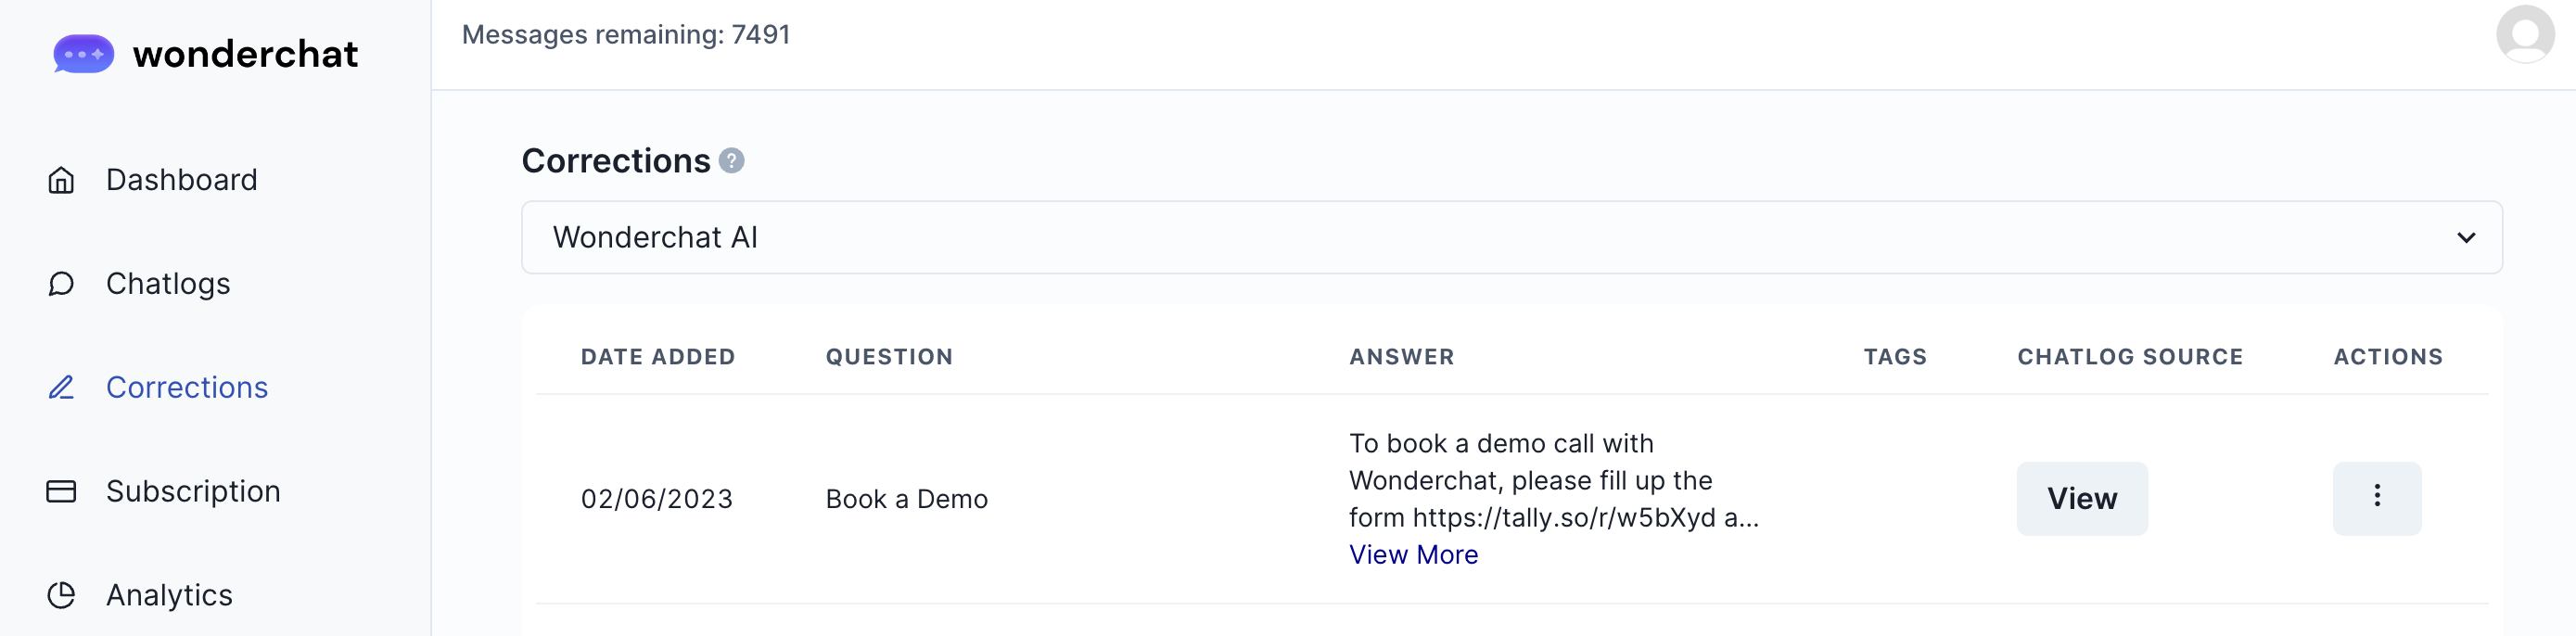
Step 4: View all your corrections in the “Corrections” tab
You can then view a complete overview of your corrections inside the “Corrections” tab. The AI will now be trained to remember the correct answers and be able to answer them correctly when tasked with the same questions again.
Step 5: Review corrections
- You can revist the chatlogs where the corrections have been made.
- Chatlogs with corrections made will be labelled with “corrected” and a green tick would appear beside the log.