Chatbots have become an essential part of modern-day communication. They are used by businesses and organizations to enhance customer engagement and provide efficient customer service. However, it is not enough to just have a functional chatbot. You also need to make sure that your chatbot is visually appealing and fits in with your branding. This involves styling your chatbot and picking a color theme that resonates with your brand. In this document, we will take a look at how to style your chatbot and pick its color theme.
1. How to pick a profile picture
The first step to styling your chatbot would be to pick a suitable profile photo. To do so, you can go to “Edit Chatbot” and click on the profile icon to upload a photo.
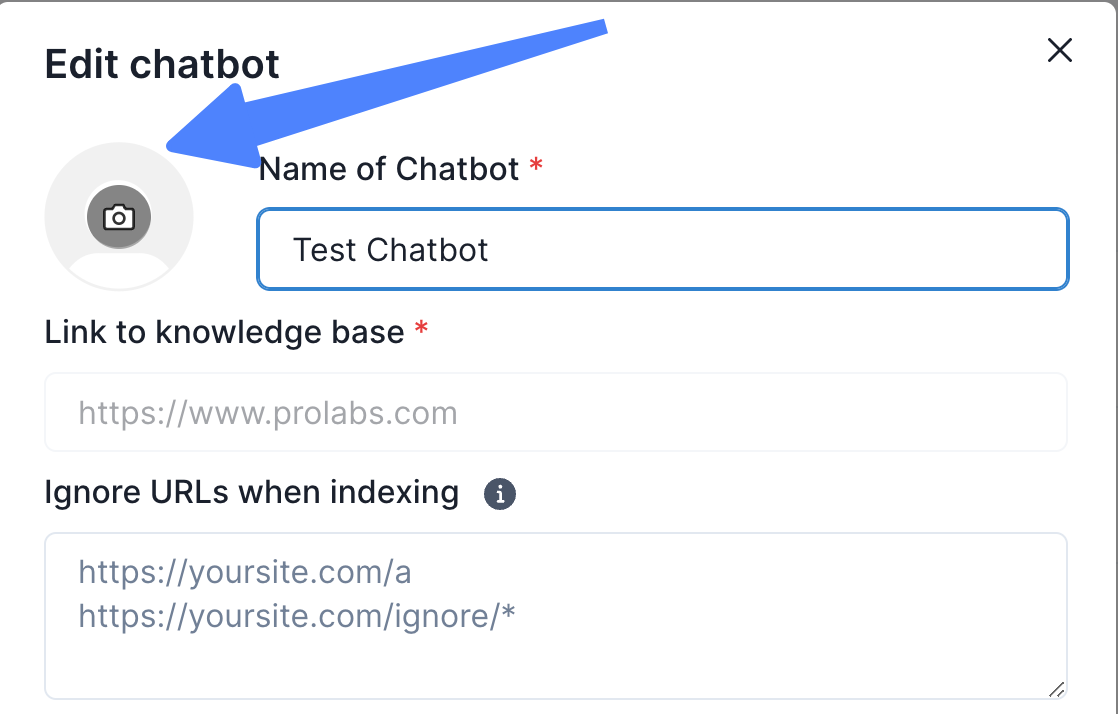
We recommend that you upload a photo with square dimensions, in the likes of 64px by 64px so that the photo will fit well within the profile picture frame.
2. How to change the color and theme of your Chat Widget
Now that you have selected the profile photo of your Chat Widget, you can now select a color for it.
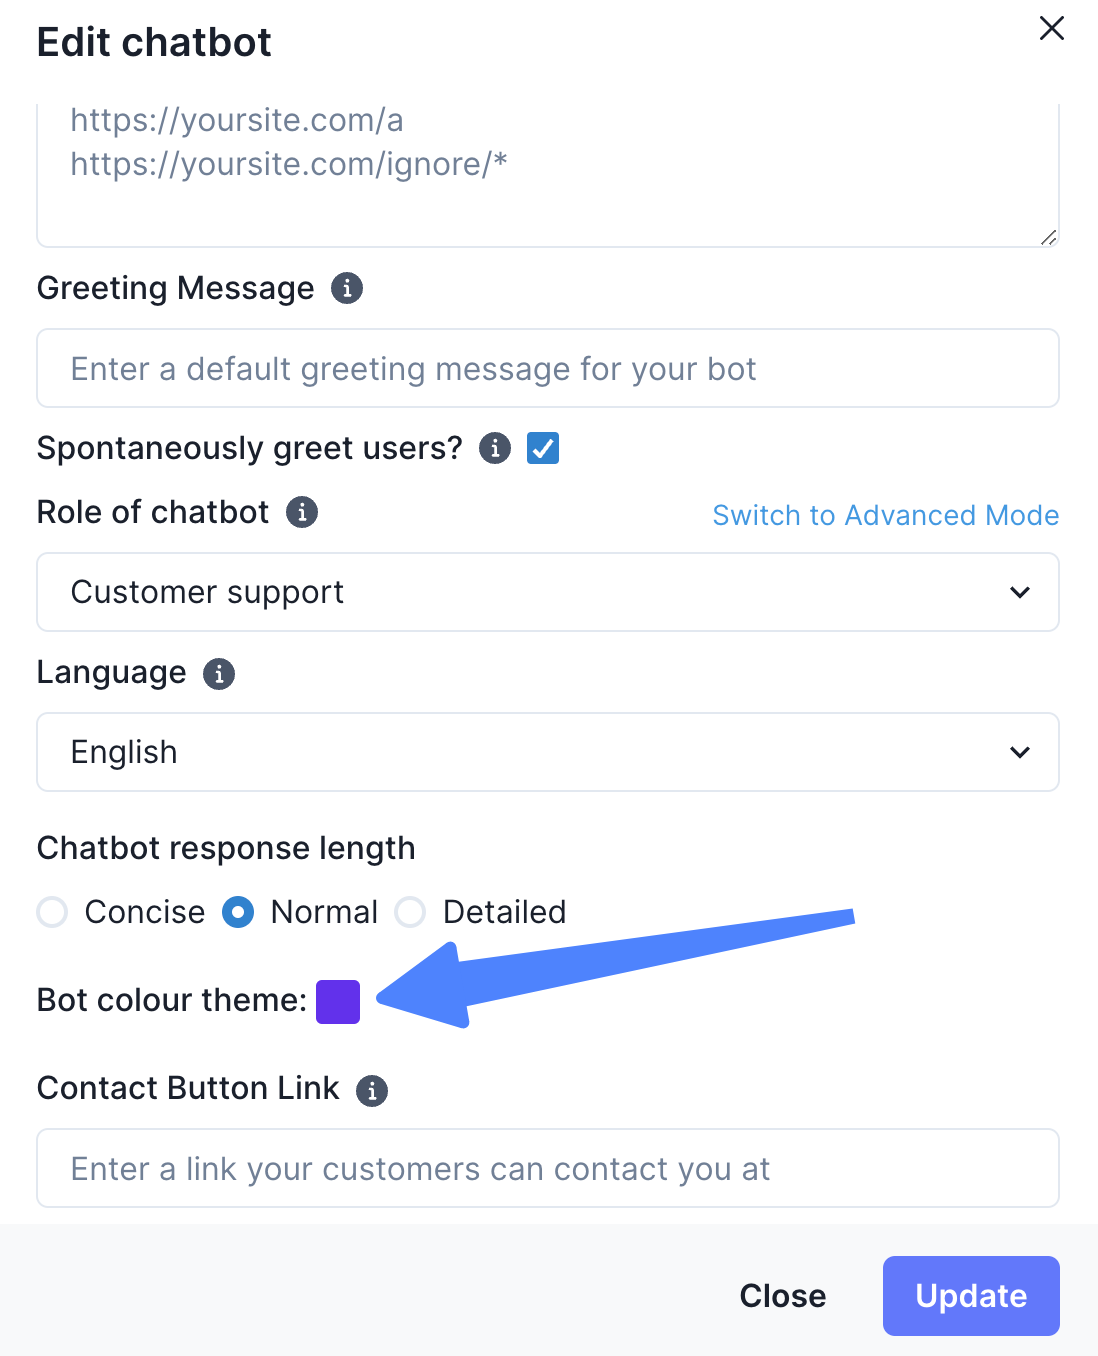
- In the “Edit Chatbot” page, you can scroll down to “Bot Color Theme” to see the colors available for your Chatbot.
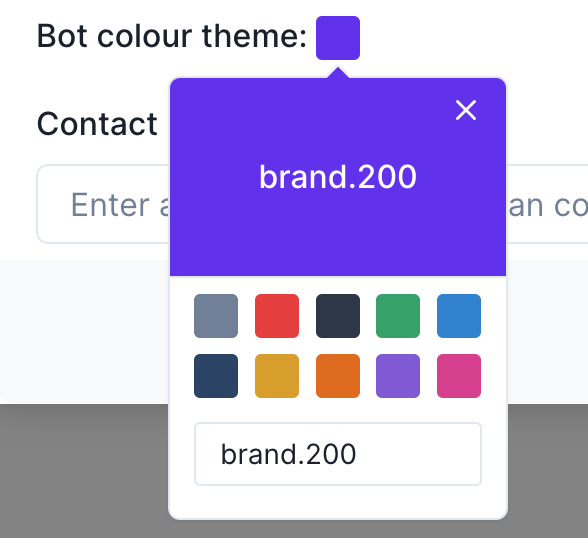
- By selecting on “bot color theme”, you can then check out the standard colors available for you to choose from. Click on the color of your choice to change the Chat interface color.
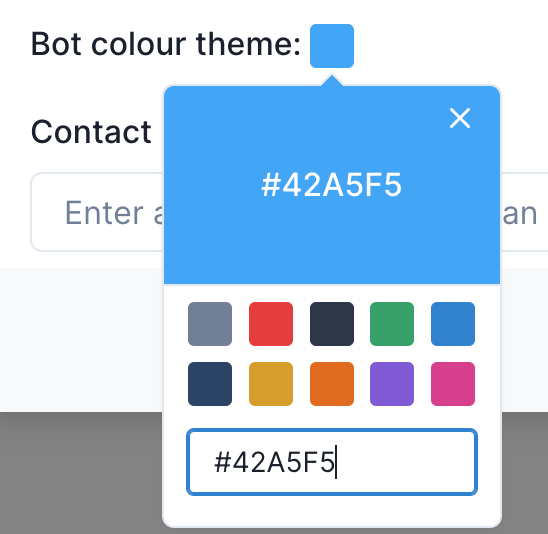
- You can also enter a Hex Color code to get the precise color that would suit your brand.
Once you decide on your profile picture and chat color theme, you can click on “Update” and your Chatbot should look ready to go!