In this page, we will show how you can set-up your own workflow for your chatbot. For this example, we will be setting up a simple "Recommend clothes" workflow.
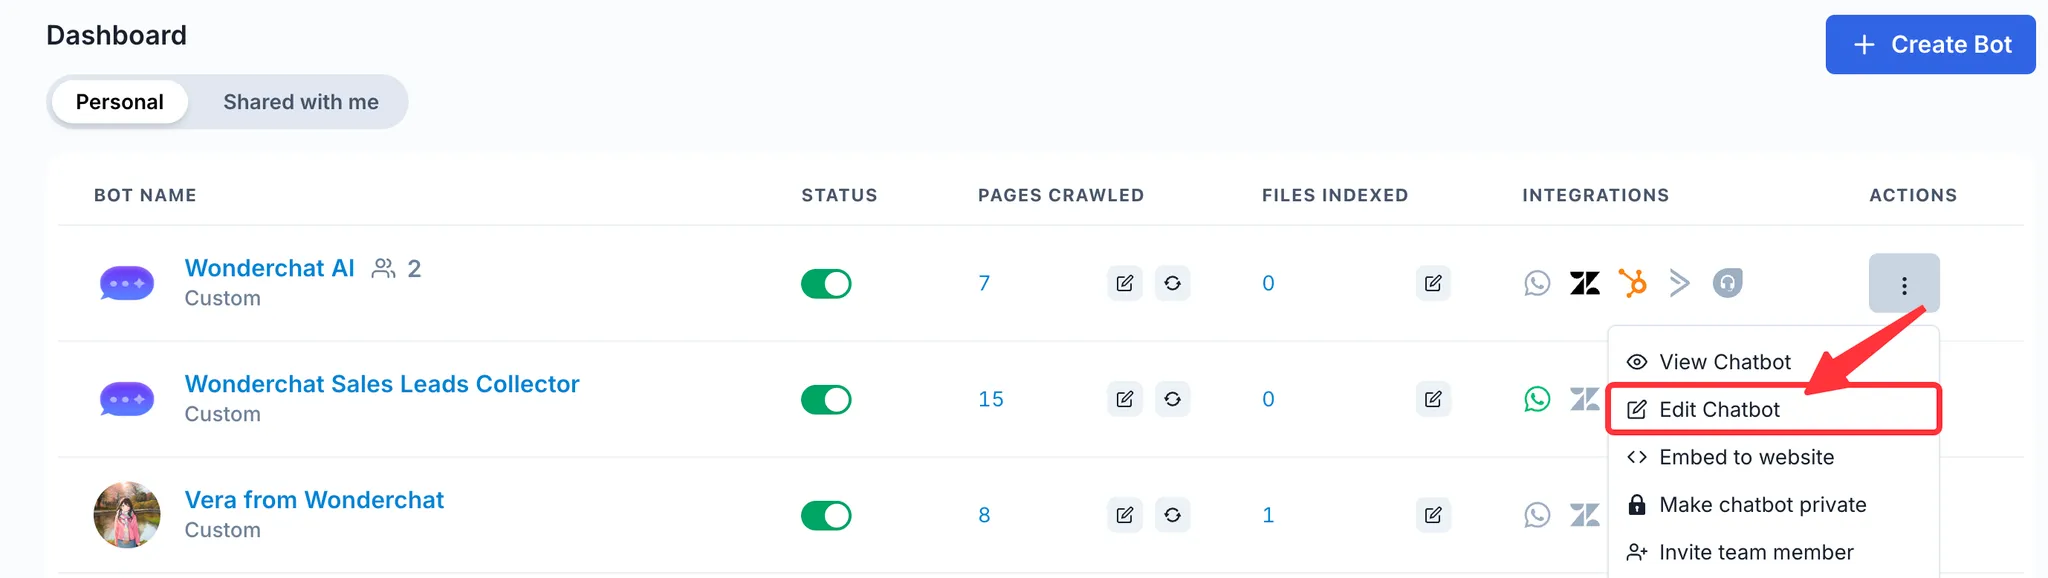
1. To create a Wonderchat workflow, select the chatbot of your choice and click on Edit Chatbot
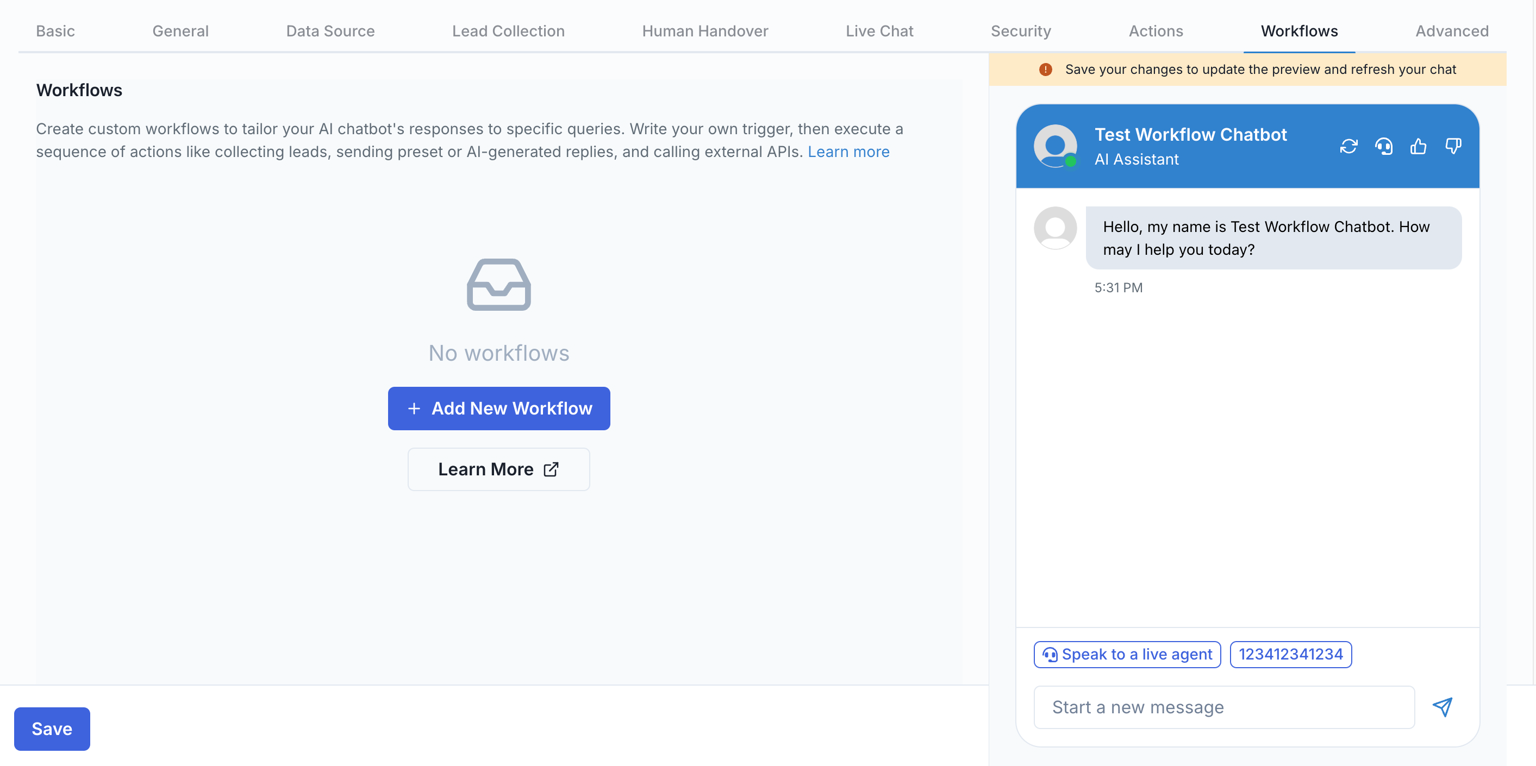
- Within the edit chatbot menu, click on the Workflows tab, and click on Add New Workflow
- A new workflow will be added. You can first select the type of trigger for your workflow. Here, we will select the When AI detects a condition trigger, and set the trigger when The user asks what clothes he should wear
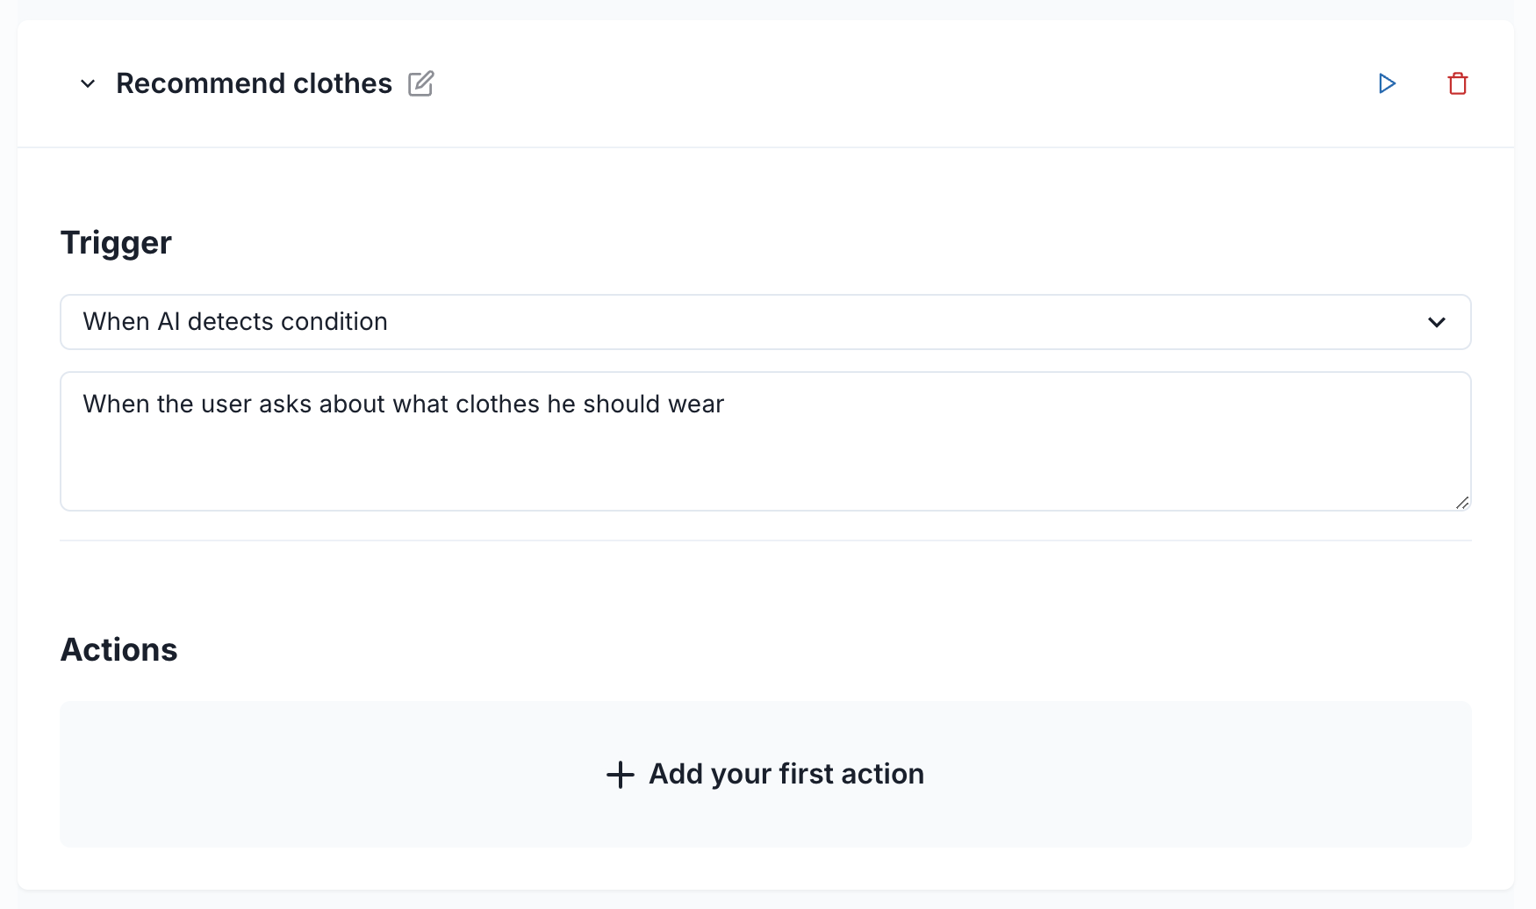
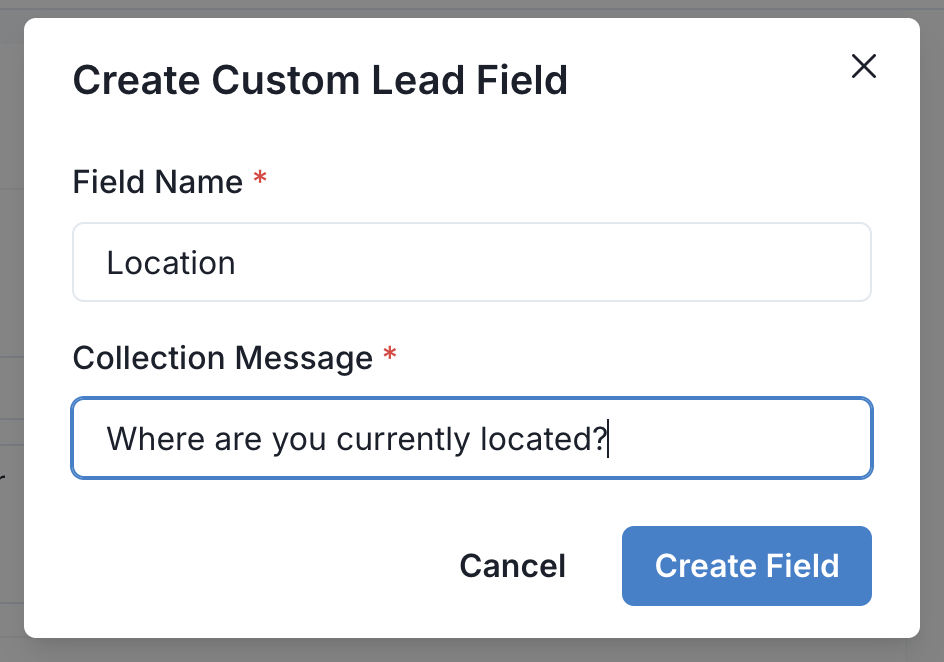
- Now that we have defined the trigger for the workflow, we can define a series of actions to take. For this workflow, we want to first Collect the location of the user, so we can click on Add your first action and create a new custom field called Location
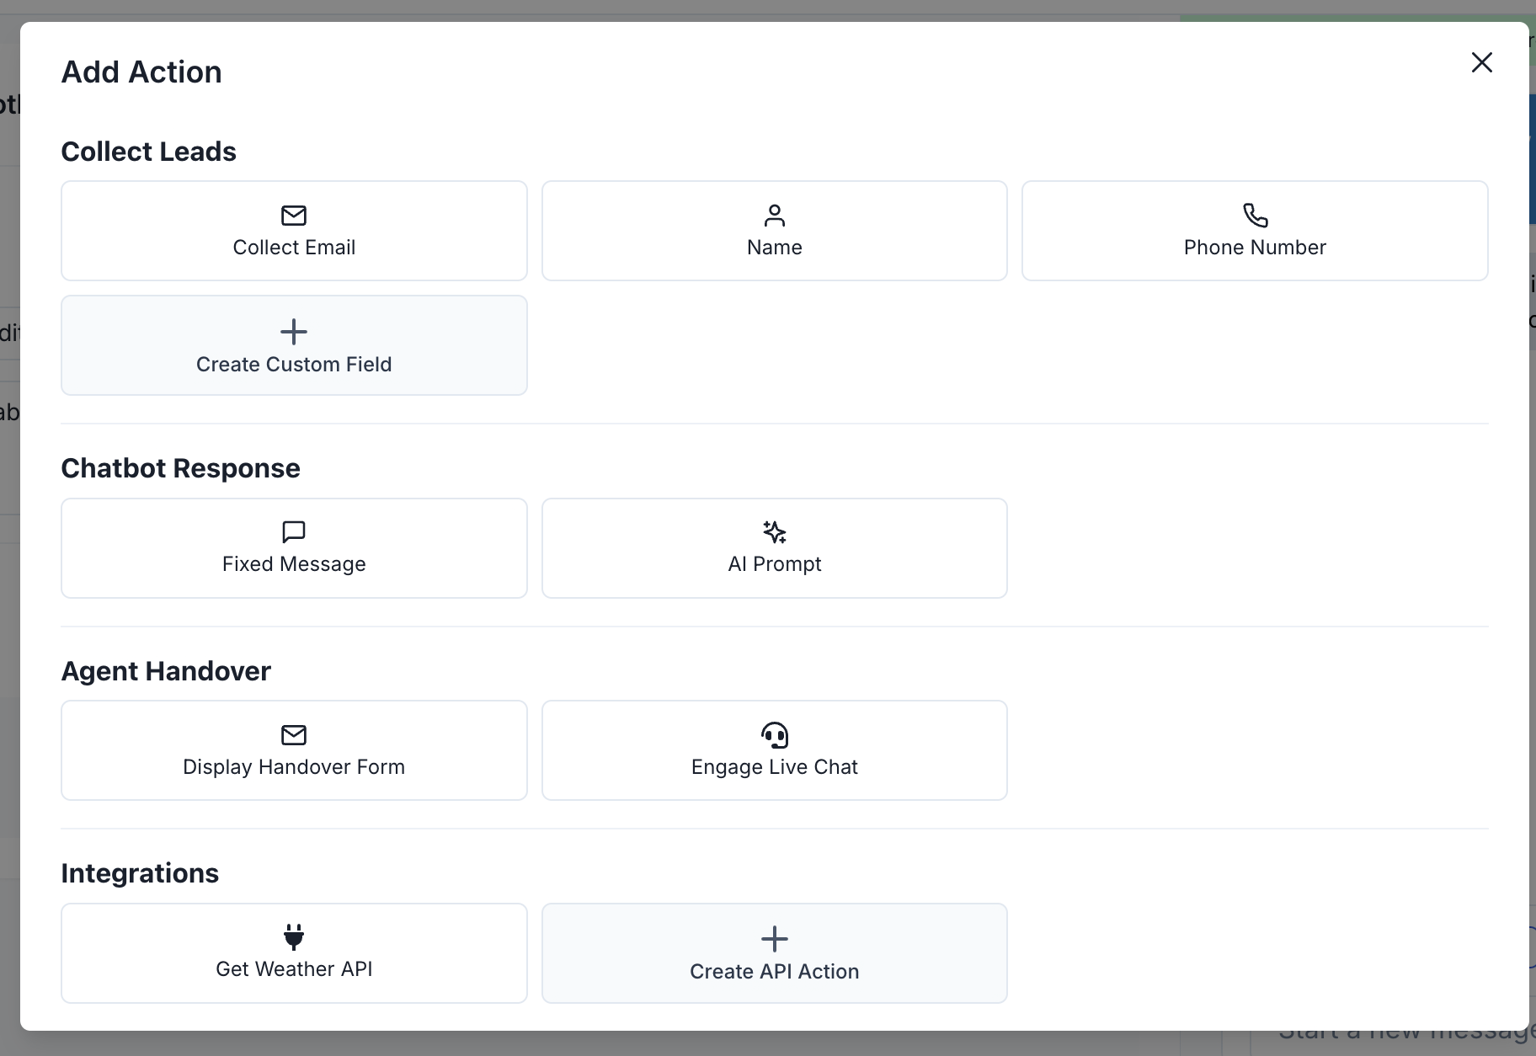
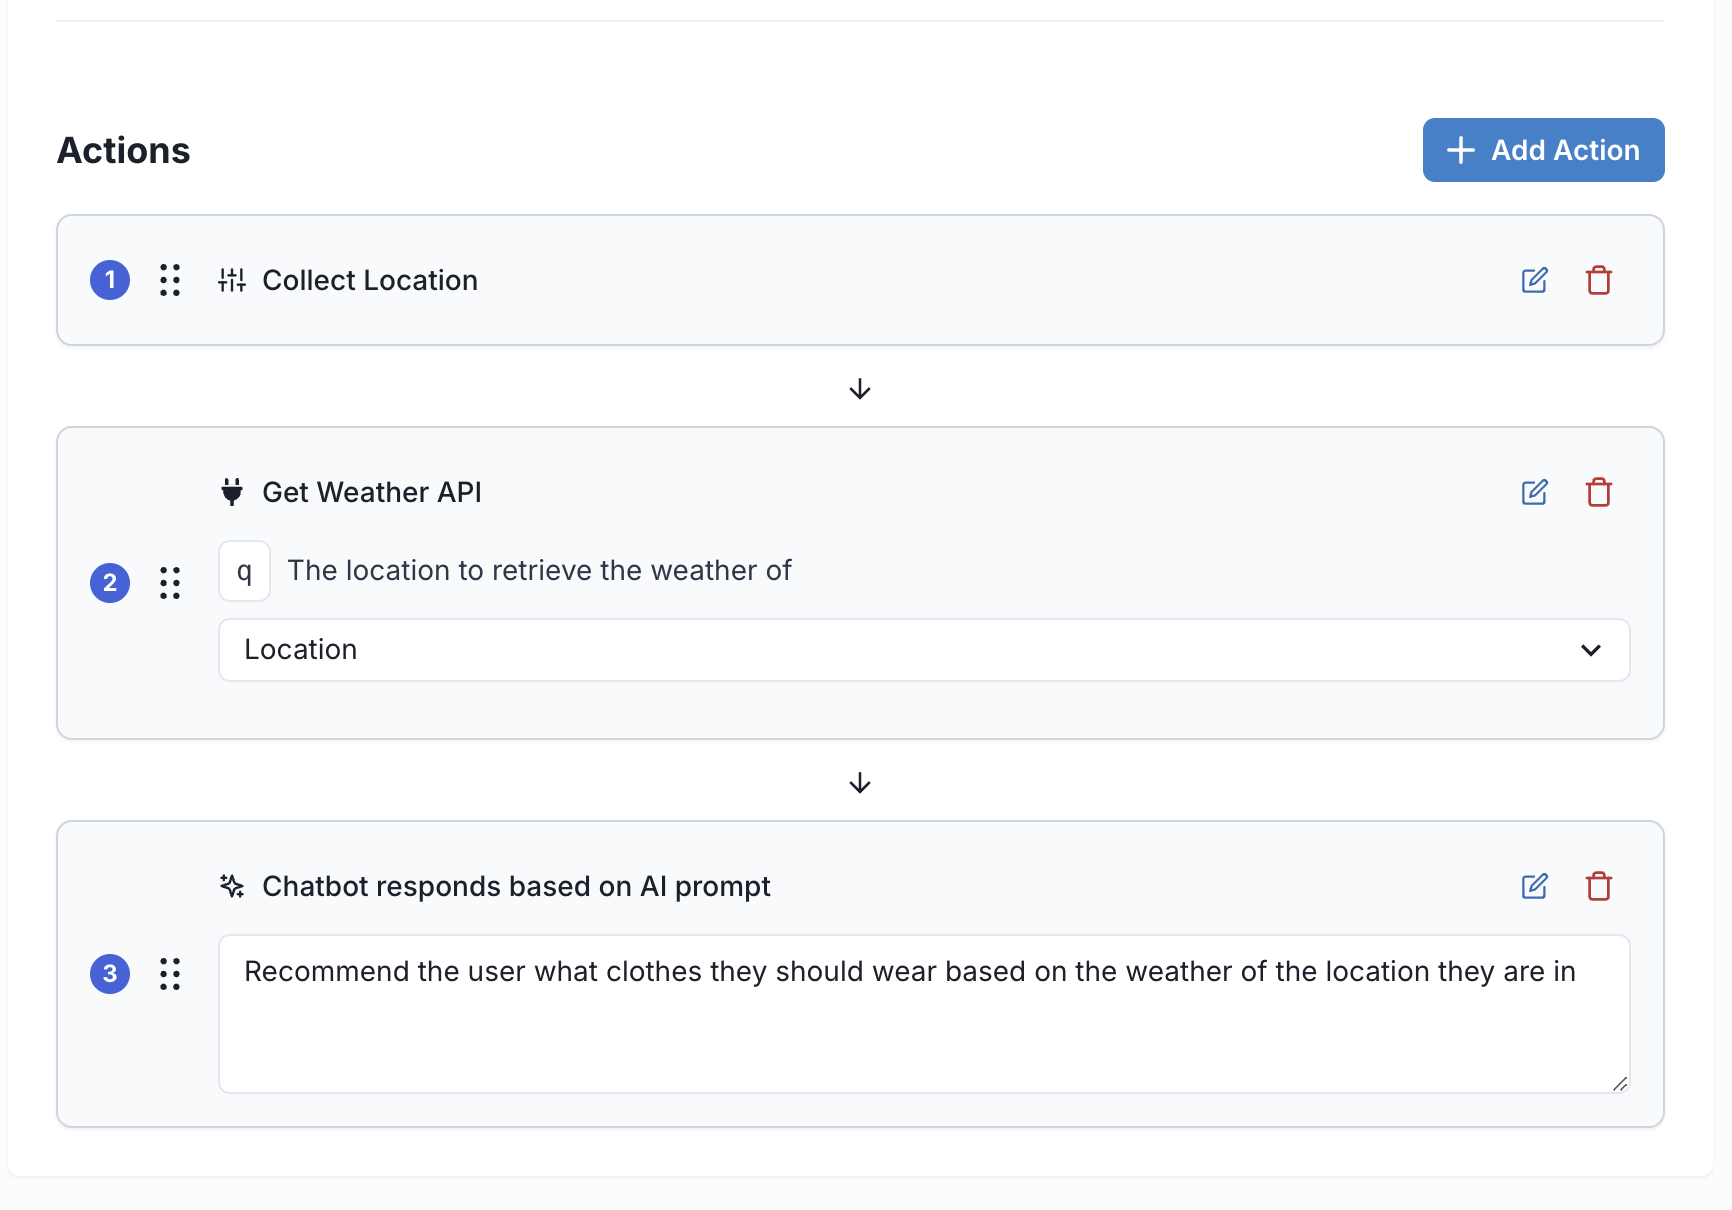
- Now, lets call add an API action to get the weather of the user based on the location that they have given.
- Finally, we can recommend the user some clothes they can wear based on the weather of the location they are in by adding an AI Chatbot response action
- Now that we have created our workflow, we can test it out by clicking Save and asking the chatbot a question that will trigger the workflow in the chatbot preview on the right.
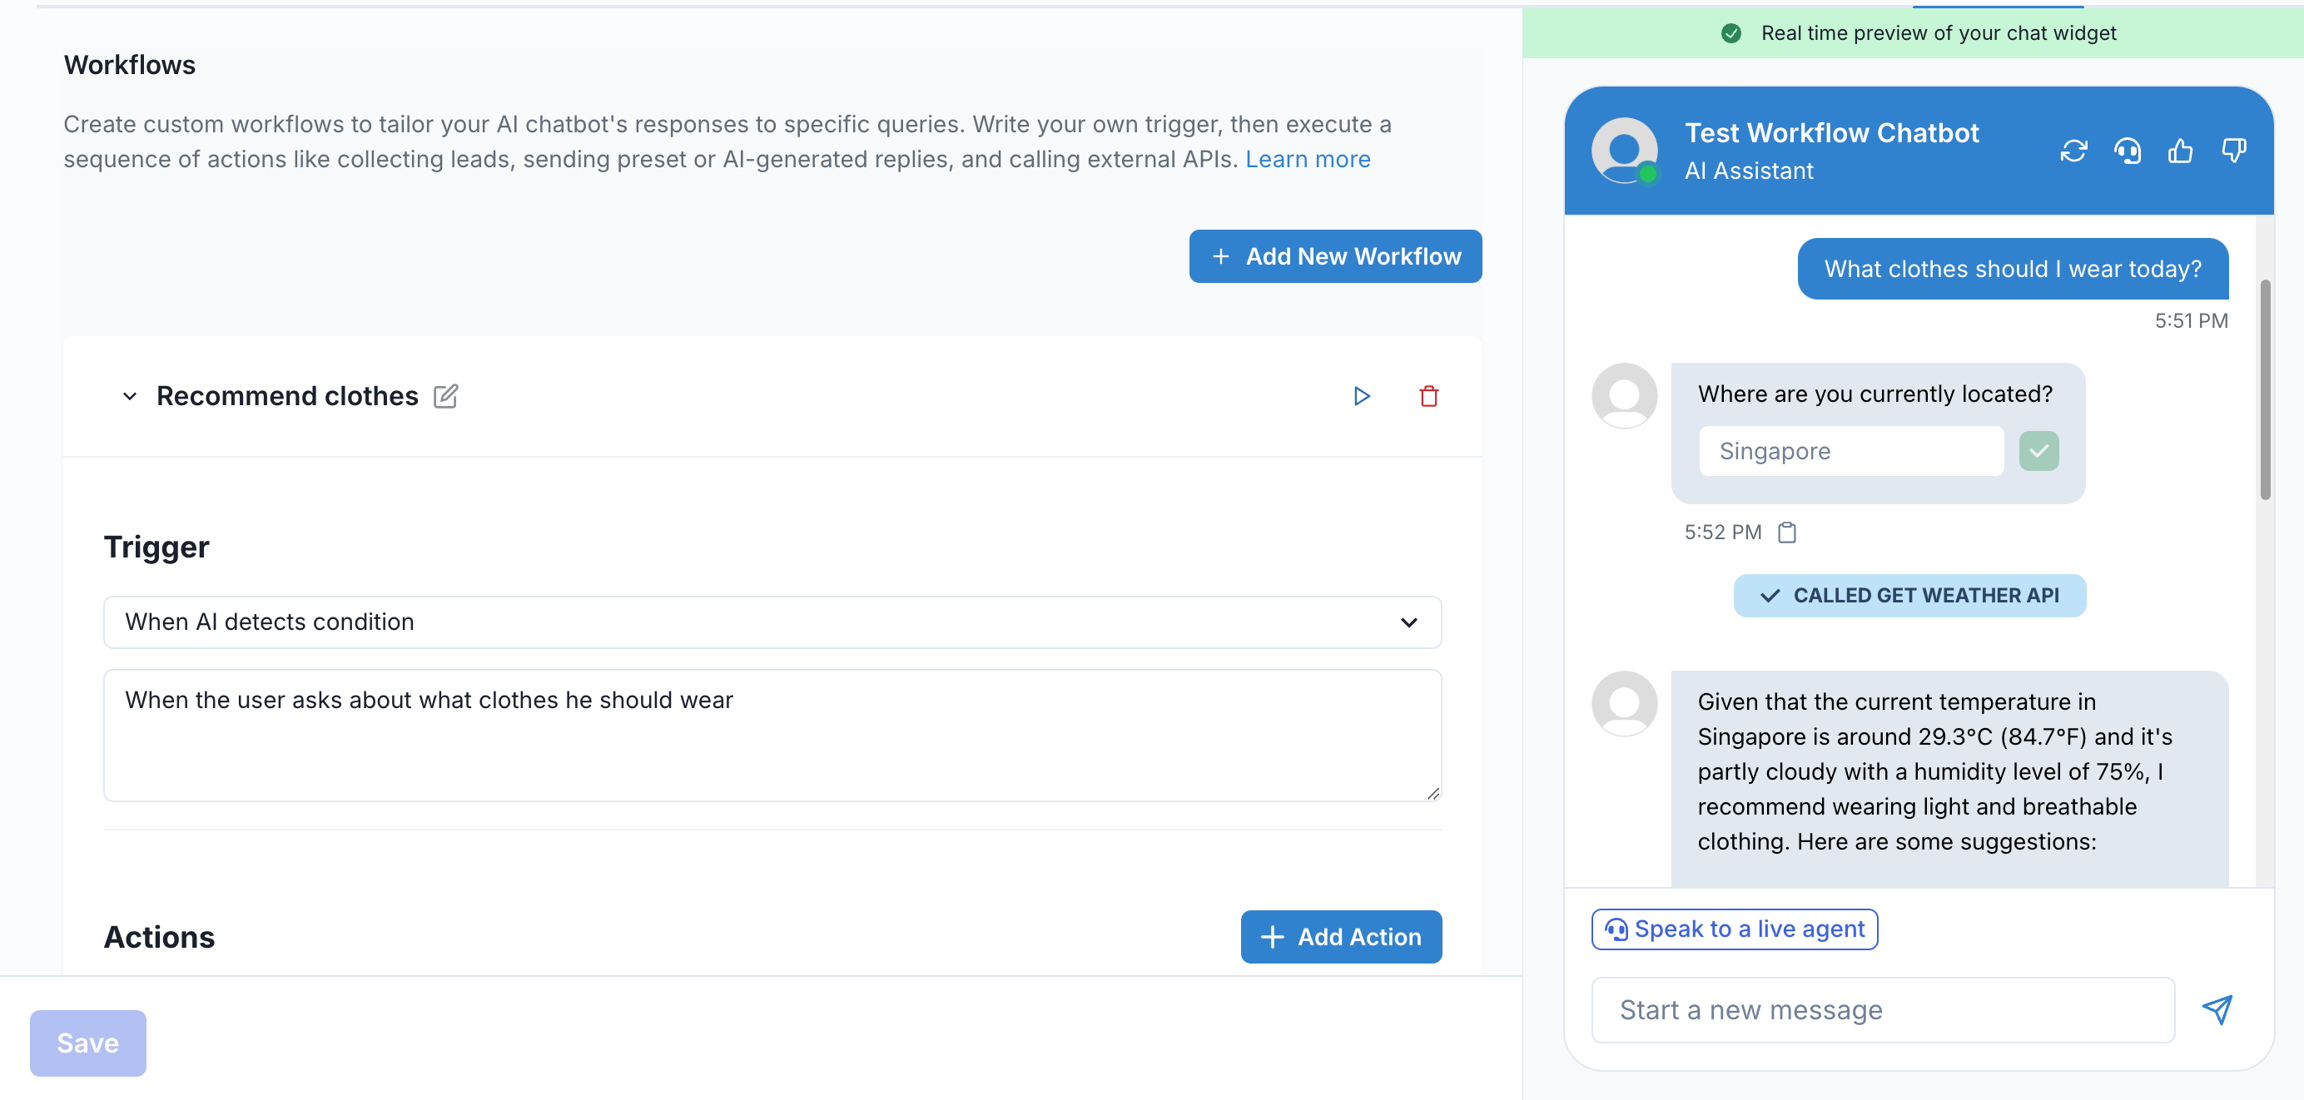
- Alternatively, you can click on the Play button of each workflow to preview the workflow without manually typing in something to trigger it